You’ve built your PC, connected all the cables, and it’s time to press that power button. But what exactly should you do after your PC boots for the first time?
This guide is your step-by-step checklist for what to do after building your PC — from first power-on to optimizing your system for daily use.
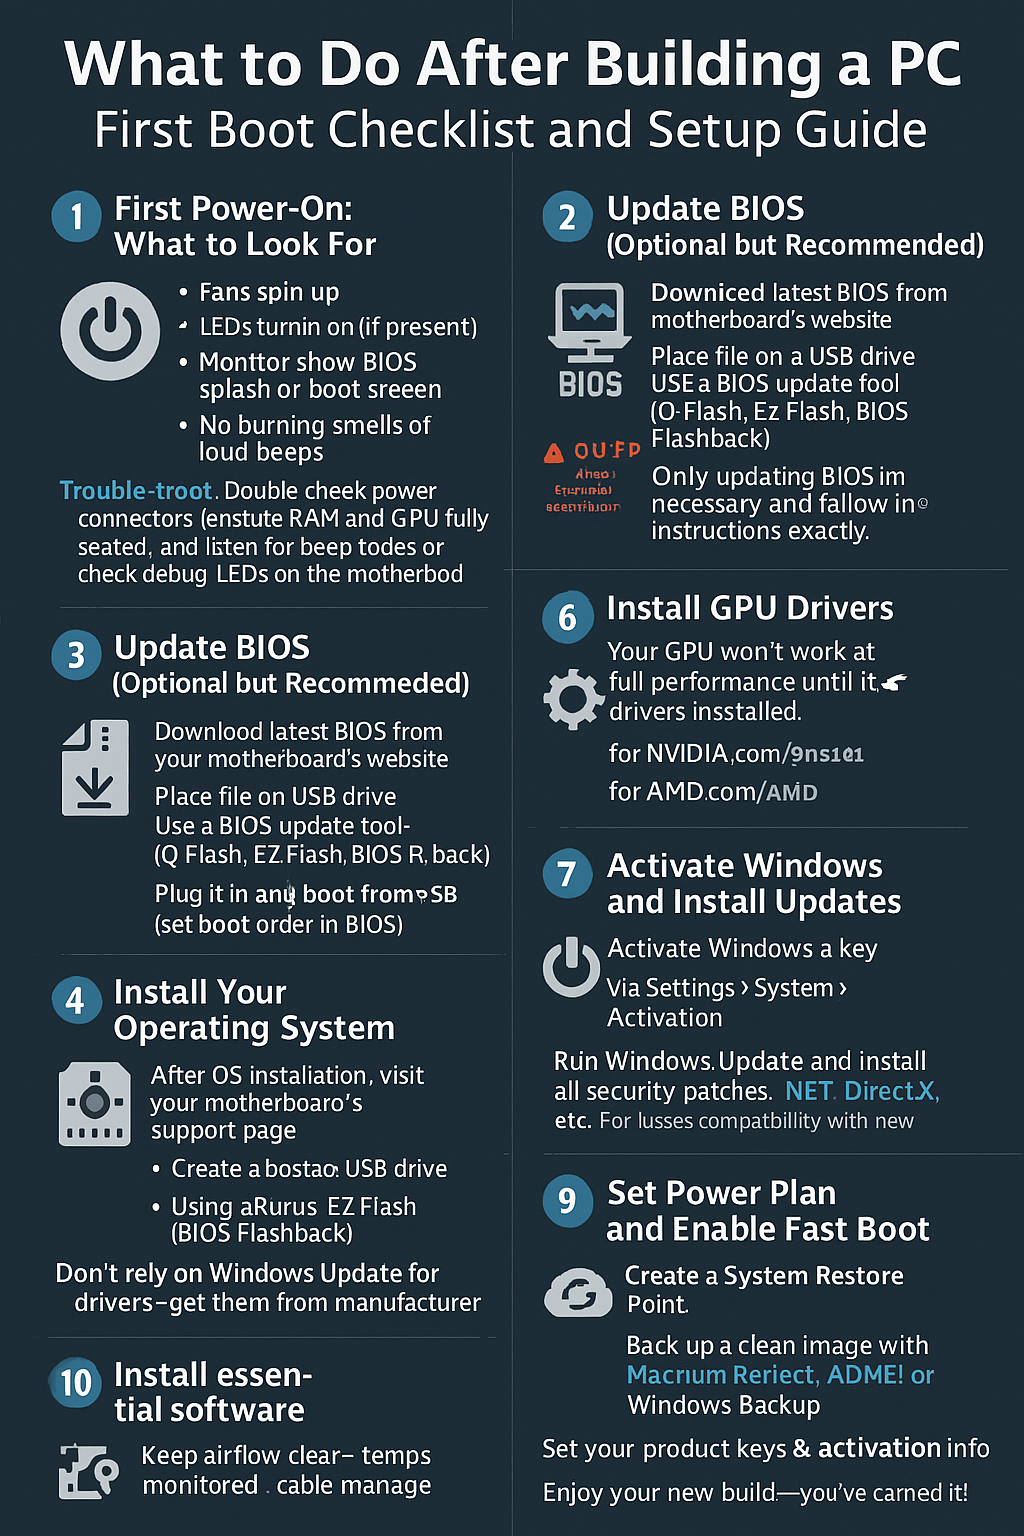
1. First Power-On: What to Look For
Press the power button and observe:
✅ Fans spin up
✅ LEDs turn on (if present)
✅ Monitor shows BIOS splash or boot screen
✅ No burning smells or loud beeps
If nothing happens:
- Double-check power connectors (24-pin, CPU 8-pin, front panel header)
- Ensure RAM and GPU are fully seated
- Listen for beep codes or check debug LEDs on the motherboard
2. Enter BIOS and Check Hardware
Press DEL or F2 repeatedly during boot to enter the BIOS.
Verify:
- CPU and RAM are detected
- Storage drives are recognized
- RAM is running at correct speed (enable XMP or EXPO)
- CPU temperature is within 35–45°C idle
If anything looks off, power down and recheck your build.
3. Update BIOS (Optional but Recommended)
✅ If your CPU is new or unsupported by your BIOS version, update it.
Steps:
- Download latest BIOS from your motherboard’s website
- Place file on USB drive
- Use BIOS update tool (e.g., Q-Flash, EZ Flash, BIOS Flashback)
⚠️ Only update BIOS if necessary and follow instructions exactly.
4. Install Your Operating System
Most users install Windows 10 or 11, but you can also use Linux or other OSes.
Steps:
- Create a bootable USB with the OS (using Rufus or Media Creation Tool)
- Plug it in and boot from USB (set boot order in BIOS)
- Install OS on your SSD (preferably NVMe)
💡 Delete all partitions on the drive during install to avoid issues.
5. Install Motherboard Drivers
After OS installation:
- Visit your motherboard’s support page
- Download and install:
- Chipset drivers
- LAN/Wi-Fi drivers
- Audio drivers
- Optional software (RGB, fan control, BIOS utilities)
Don’t rely solely on Windows Update for drivers — get them from the manufacturer.
6. Install GPU Drivers
Your GPU won’t work at full performance until its drivers are installed.
- For NVIDIA: nvidia.com
- For AMD: amd.com
Use clean install or Display Driver Uninstaller (DDU) if needed.
7. Activate Windows and Install Updates
- If you bought a Windows key, activate via Settings > System > Activation
- Run Windows Update and install all security patches, .NET, DirectX, etc.
💡 This ensures compatibility with new games and hardware.
8. Set Power Plan and Enable Fast Boot
For best performance:
- Use the High Performance or Balanced power plan
- Enable Fast Startup (optional)
- Disable sleep if you’re using a desktop and want instant wake
Go to: Control Panel > Power Options
9. Install Essential Software
Install your must-have tools:
- Google Chrome, Firefox, or Brave
- Steam, Battle.net, Epic Games Launcher
- Discord, Spotify
- Notepad++, WinRAR, VLC Media Player
- HWMonitor, HWiNFO, CPU-Z for system monitoring
Set your defaults and pin frequently used apps to the taskbar.
10. Create a Backup and Restore Point
Before installing too much:
- Create a System Restore Point
- Backup a clean image with Macrium Reflect, AOMEI, or Windows Backup
- Save your product keys and activation info
This protects you in case of future crashes or failed updates.
Final Tips
✅ Keep airflow clear and temps monitored
✅ Cable manage the back of your case
✅ Test games or programs to confirm stability
✅ Customize RGB and fan curves using motherboard software
✅ Enjoy your new build — you’ve earned it!
Building a PC is only half the journey — now that it’s running, take these final steps to ensure a stable, clean, and optimized system from day one.