Cable management isn’t just about looks — it directly affects airflow, cooling, and even system stability. A clean PC build is easier to maintain, performs better, and just feels more professional.
In this guide, we’ll go through practical cable management tips, from planning your build to routing cables, using the right tools, and avoiding common mistakes.
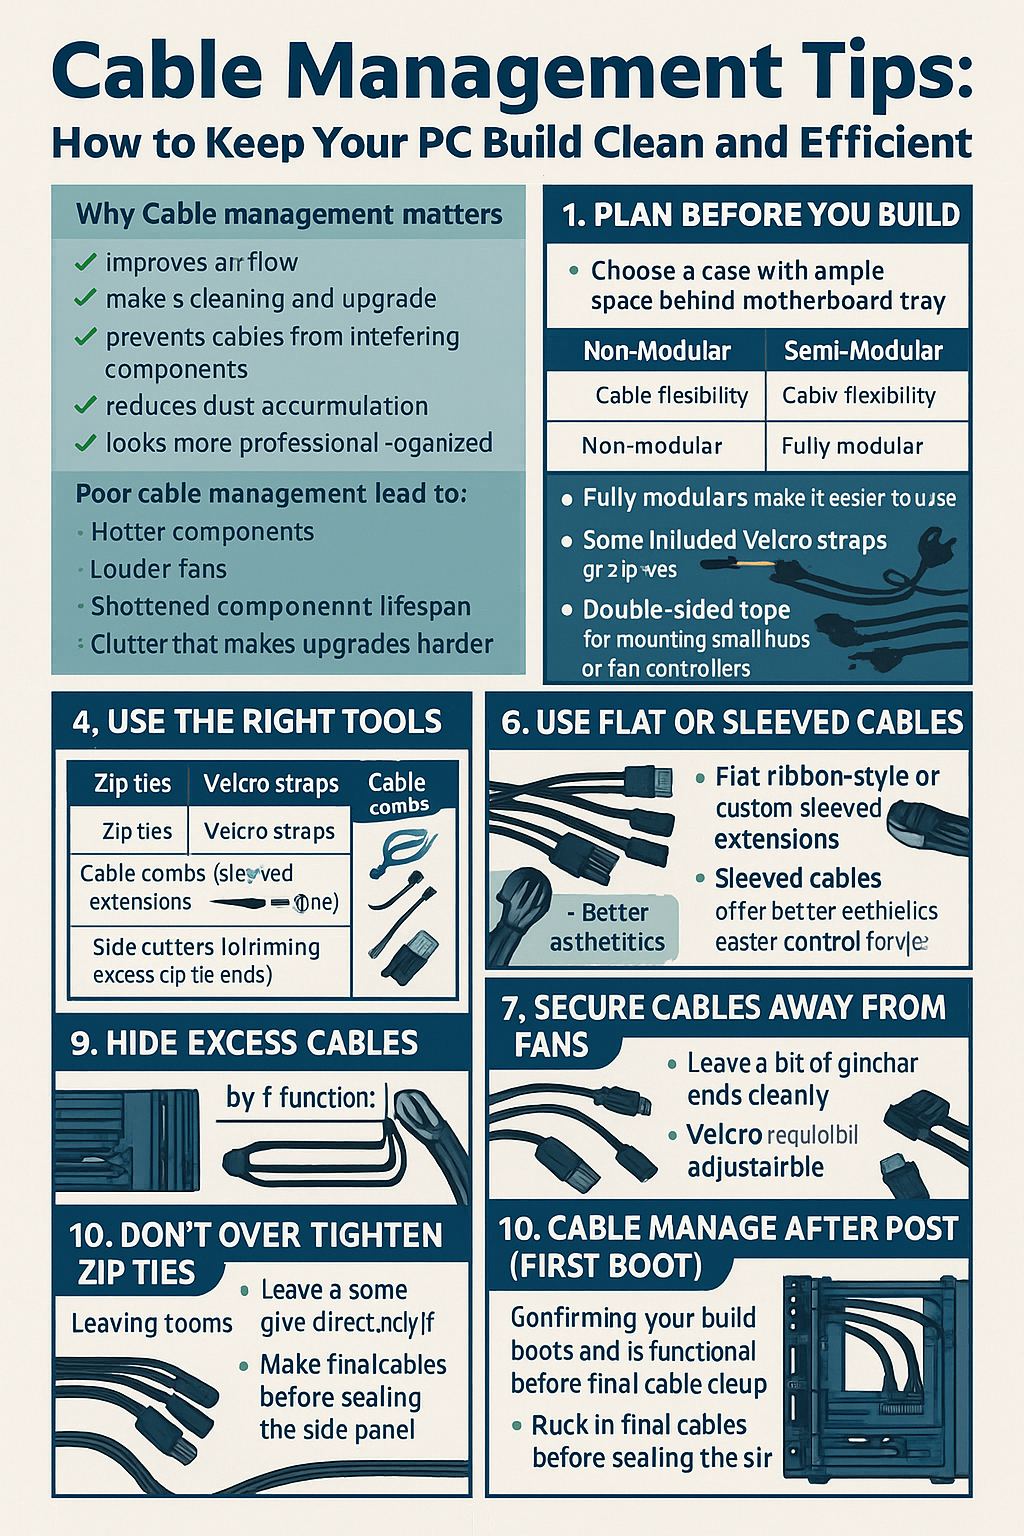
Why Cable Management Matters
✅ Improves airflow and reduces heat buildup
✅ Easier to clean and upgrade
✅ Prevents cables from interfering with fans or components
✅ Reduces dust accumulation
✅ Looks more professional and organized
Poor cable management can lead to:
- Hotter components
- Louder fans
- Shortened component lifespan
- Clutter that makes upgrades harder
1. Plan Before You Build
Before you even install your first component:
- Choose a case with ample space behind the motherboard tray
- Make sure your PSU cables reach their destinations cleanly
- Check for routing holes near the CPU, GPU, and motherboard headers
- Decide which cables go where and how you’ll route them
Planning prevents messes and saves time later.
2. Use a Modular or Semi-Modular PSU
Types of PSUs:
| Type | Cable Flexibility |
|---|---|
| Non-Modular | All cables fixed |
| Semi-Modular | Some cables removable |
| Fully Modular | Only needed cables used |
✅ Fully modular PSUs make it easier to use only what you need — meaning less clutter.
3. Route Cables Behind the Motherboard Tray
Always run power cables through the rear panel of your case if it supports it.
- Use rubber grommets and cutouts to keep things tidy
- Most cases have specific areas for 24-pin, EPS (CPU), and PCIe cables
- Use included Velcro straps or zip ties to secure excess cable behind the tray
4. Use the Right Tools
🧰 Essentials for clean cable management:
- Zip ties or Velcro straps
- Cable combs (for sleeved cables)
- Cable extensions (for aesthetic routing)
- Side cutters (to trim excess zip tie ends)
- Double-sided tape (for mounting small hubs or fan controllers)
Avoid using tape directly on cables — it can leave residue.
5. Hide Excess Cables in the PSU Shroud or Drive Cages
Modern cases include PSU shrouds or drive bays — ideal spots to tuck away:
- Extra SATA power cables
- Unused Molex cables
- Long 24-pin or EPS cables
Use twist ties to bundle excess cable length and stash it securely.
6. Use Flat or Sleeved Cables
Flat ribbon-style cables or custom sleeved extensions are easier to bend, route, and organize.
✅ Benefits of sleeved cables:
- Better aesthetics
- Easier to control and direct
- Come in multiple colors for style
Brands like CableMod offer high-quality, pre-sleeved cable kits for most modular PSUs.
7. Group Cables by Function
Bundle cables based on their destination:
- All fan cables together
- All SATA/data cables together
- All PCIe GPU cables together
This keeps your layout predictable and easier to trace during troubleshooting.
8. Secure Cables Away From Fans
Never let cables dangle near moving fans. Use:
- Zip ties to anchor them
- Adhesive clips or mounts to route cables along the case frame
- Tie them tightly near fan cutouts to avoid snags
9. Don’t Over-Tighten Zip Ties
While zip ties are great for bundling cables, tightening too much can damage them.
- Leave a bit of give to avoid pinching
- Snip off excess ends cleanly
- Use Velcro when possible — reusable and adjustable
10. Cable Manage After POST (First Boot)
Once you’ve confirmed your build boots and is functional, start your final cable clean-up.
- This prevents having to undo hours of work if you need to swap something
- Make final adjustments for fan placement or GPU positioning
- Tuck in final cables before sealing the side panel
Final Thoughts
Good cable management is a mark of a thoughtful builder. It’s not just about appearances — it affects your PC’s cooling, durability, and maintainability.
Whether you’re building a minimalist gaming rig or a professional workstation, taking time to manage cables makes the difference between “just working” and a build that truly shines.