Once your PC is built and running, how do you know if it’s performing as expected? That’s where benchmarking comes in — a process that tests your system’s performance under controlled conditions.
In this guide, you’ll learn how to benchmark your PC, which tools to use for different components, and how to interpret the results to identify bottlenecks or confirm performance.
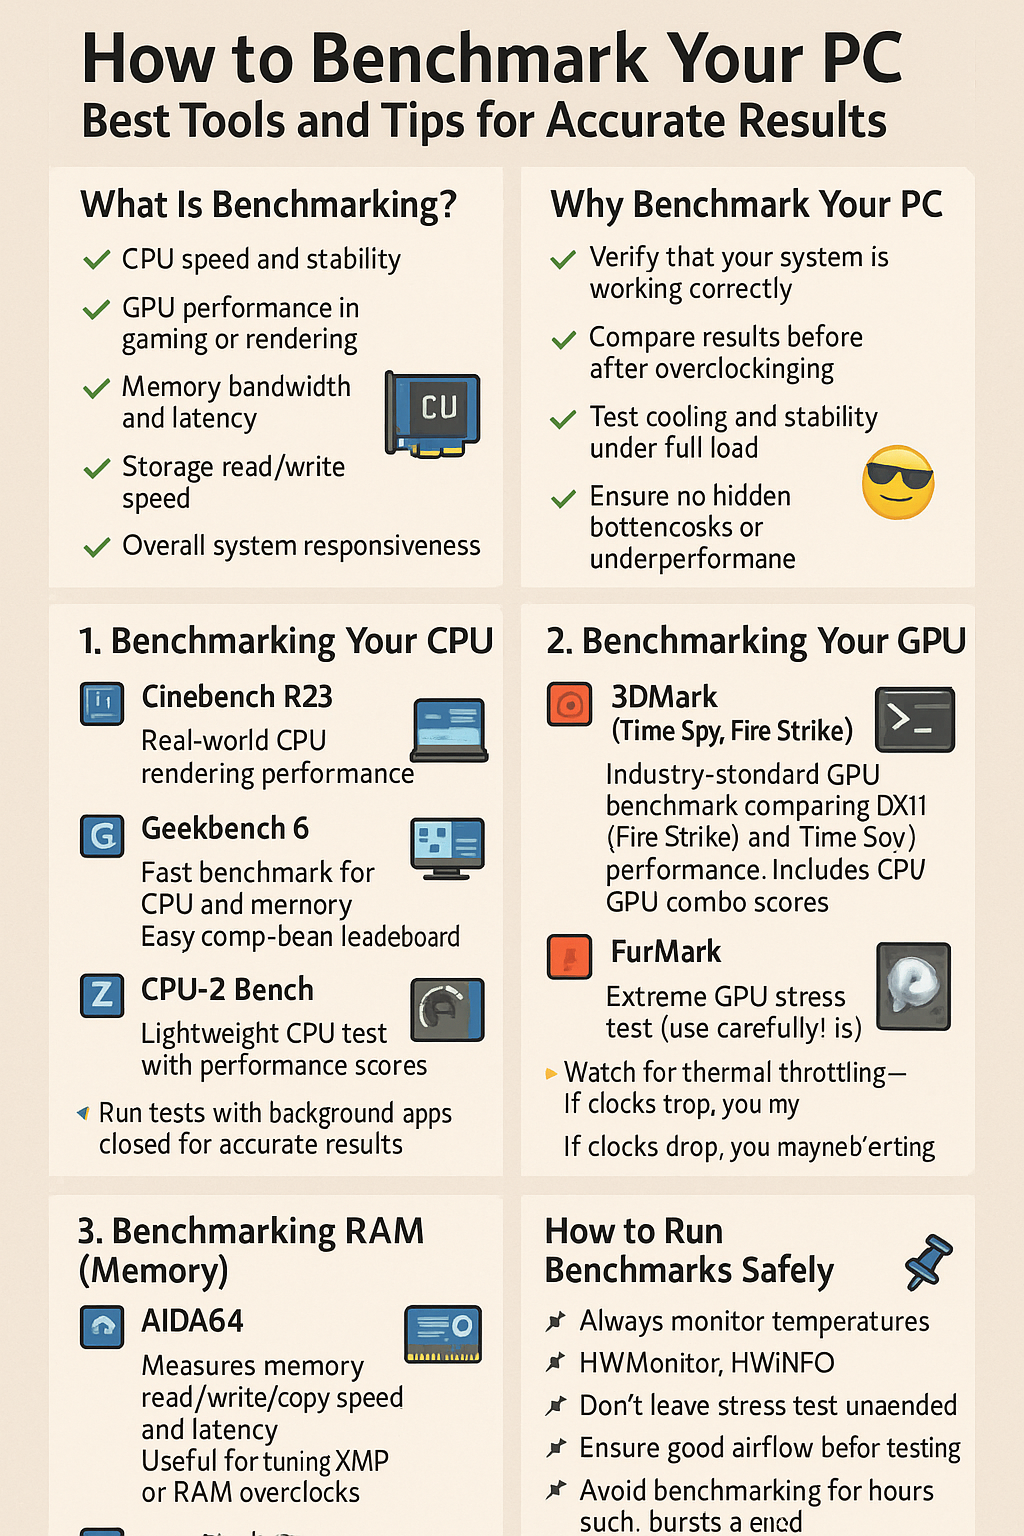
What Is Benchmarking?
Benchmarking is the process of running standardized tests to measure your computer’s:
✅ CPU speed and stability
✅ GPU performance in gaming or rendering
✅ Memory bandwidth and latency
✅ Storage read/write speed
✅ Overall system responsiveness
You can compare your scores to similar systems or check performance after upgrades or tweaks.
Why Benchmark Your PC?
- ✅ Verify that your system is working correctly
- ✅ Compare results before and after overclocking
- ✅ Test cooling and stability under full load
- ✅ Ensure no hidden bottlenecks or underperformance
- ✅ Brag rights with friends 😎
1. Benchmarking Your CPU
Use these tools to test multi-core and single-core performance:
🔧 Cinebench R23
- Tests real-world CPU rendering performance
- Provides single and multi-core scores
- Ideal for comparing against online databases
🔧 Geekbench 6
- Fast benchmark for CPU and memory
- Easy comparison via browser-based leaderboard
🔧 CPU-Z Bench
- Lightweight CPU test with performance scores
- Good for quick comparisons with similar chips
💡 Run tests with background apps closed for accurate results.
2. Benchmarking Your GPU
To test your graphics card for gaming or creative workloads:
🔧 3DMark (Time Spy, Fire Strike)
- Industry-standard GPU benchmark
- Compares DX11 (Fire Strike) and DX12 (Time Spy) performance
- Includes CPU/GPU combo scores
🔧 Unigine Superposition / Heaven
- Stress test with real-time 3D rendering
- Great for checking temps and clock stability under load
🔧 FurMark
- Extreme GPU stress test (use carefully!)
- Best for cooling and thermal testing
💡 Watch for thermal throttling — if clocks drop, you may need better cooling.
3. Benchmarking RAM (Memory)
Memory speed and latency affect multitasking and loading times.
🔧 AIDA64
- Measures memory read/write/copy speed and latency
- Useful for tuning XMP or RAM overclocks
🔧 PassMark RAM Test
- Tests for memory stability under stress
- Good for checking faulty or unstable sticks
4. Benchmarking Storage (SSD/HDD)
Want to see if your NVMe SSD is reaching its rated speed?
🔧 CrystalDiskMark
- Most popular drive speed benchmark
- Measures sequential and random read/write speeds
- Can detect SATA vs NVMe vs Gen 4/5 performance
🔧 AS SSD Benchmark
- Advanced disk test for latency and IOPS
- Includes compression testing
💡 Your SSD should hit 90%+ of advertised speeds if functioning properly.
5. Full-System Benchmarks
These give you an overview of your entire build’s performance:
🔧 PCMark 10
- Simulates office, productivity, photo editing, web browsing
- Good for laptop, work, or all-around desktops
🔧 UserBenchmark
- Runs CPU, GPU, SSD, and RAM tests
- Generates easy-to-understand results and global comparison
⚠️ UserBenchmark may favor Intel/NVIDIA; take with a grain of salt.
6. In-Game Benchmarks
Many modern games include built-in benchmarks. These are great for:
- Testing real-world performance
- Seeing how tweaks affect FPS
- Measuring average, min, and max FPS
Popular games with built-in benchmarks:
- Cyberpunk 2077
- Shadow of the Tomb Raider
- Horizon Zero Dawn
- Red Dead Redemption 2
- Forza Horizon 5
7. How to Run Benchmarks Safely
- 📌 Always monitor temperatures (HWMonitor, HWiNFO)
- 📌 Don’t leave stress tests unattended
- 📌 Ensure good airflow before testing
- 📌 Avoid benchmarking for hours — short bursts are enough
- 📌 Close background apps and antivirus before testing
8. When to Benchmark Your PC
🗓️ Benchmark in these scenarios:
- After building a new PC
- After upgrading CPU, GPU, RAM, or SSD
- After applying new thermal paste or cooling
- Before and after overclocking
- After BIOS updates or driver changes
9. How to Interpret Benchmark Results
Don’t stress over every number — compare your results to:
- Average scores for your hardware on forums and YouTube
- Leaderboards like 3DMark or Geekbench
- Friends with similar specs
Look for anomalies:
❌ Very low CPU score → Possible BIOS/motherboard issue
❌ Low GPU score → Driver problems or bad PCIe slot
❌ Low SSD speed → Wrong port or missing NVMe driver
10. Share and Log Your Results
Benchmarking is most useful when tracked over time.
✅ Save screenshots
✅ Keep notes of driver versions, temps, clocks
✅ Use spreadsheets or cloud storage to compare results after upgrades
You’ll build a profile of your system’s health and be better prepared to troubleshoot issues in the future.
Final Thoughts
Benchmarking isn’t just for enthusiasts — it’s a powerful tool for validating your build, testing stability, and maximizing performance.
Whether you’re chasing the highest FPS or just making sure everything is working as expected, take time to run the right tests and learn what your system is really capable of.